
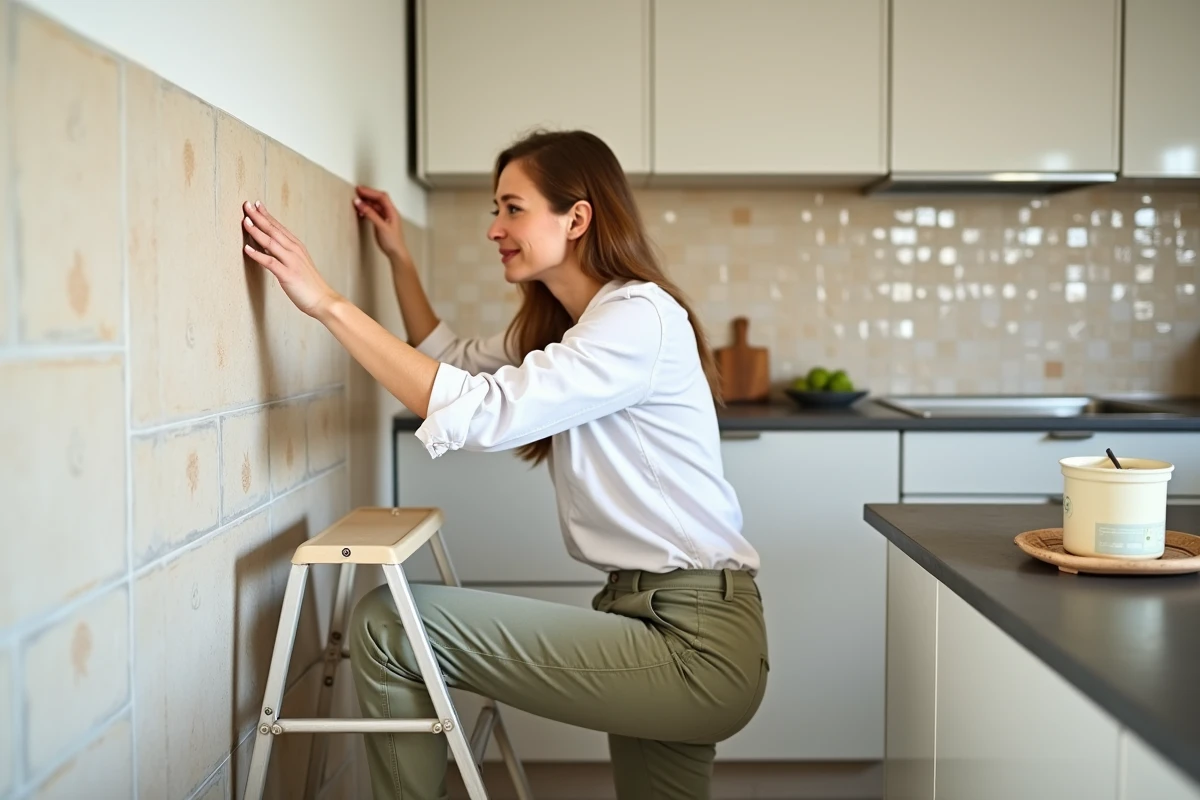
A bathroom wall covered with old yellowing tiles, blackened grout, a desire for a quick change without tearing everything apart: fiberglass wallpaper offers a concrete solution to this situation. This fiberglass wall covering adheres directly to the existing tiles, provided a few preparation steps are followed. The result is a smooth wall, ready to be painted, without the dust or cost of a complete removal.
Adhesion primer on tiles: the step that conditions the entire project
Have you ever tried to stick a post-it on a greasy surface? It falls off in a few minutes. Wall tiles pose the same problem: their glazed, smooth, and non-porous surface prevents any adhesive from sticking properly.
Further reading : How to Find Inspiration as a Writer on a Detached Page
The solution lies in a primer suitable for smooth surfaces. Paint and adhesive manufacturers now offer specific primers for the transition from tiles to fiberglass wallpaper. These products, often epoxy or loaded acrylic-based, create a rough bonding layer on the glaze.
Before applying this primer, the tiles must be clean, dry, and degreased. A wipe with household cleaner is sufficient in most cases. If some tiles are cracked or loose, it is better to reattach or remove them before proceeding. The primer is applied with a roller in one or two coats, depending on the manufacturer’s instructions. Drying times vary, but they must be fully respected to avoid compromising adhesion.
See also : How to Choose a Campsite?
Those who wish to delve deeper into the subject can install fiberglass wallpaper on tiles by following the technical recommendations detailed by professionals.
Leveling the joints before gluing the fiberglass wallpaper
Why not glue the wallpaper directly onto the primer? Because the joints between the tiles create regular depressions. Even a thick fiberglass wallpaper does not completely mask these reliefs. After painting, what craftsmen call “ghosts” of joints appear: grid-like lines visible under certain lighting.
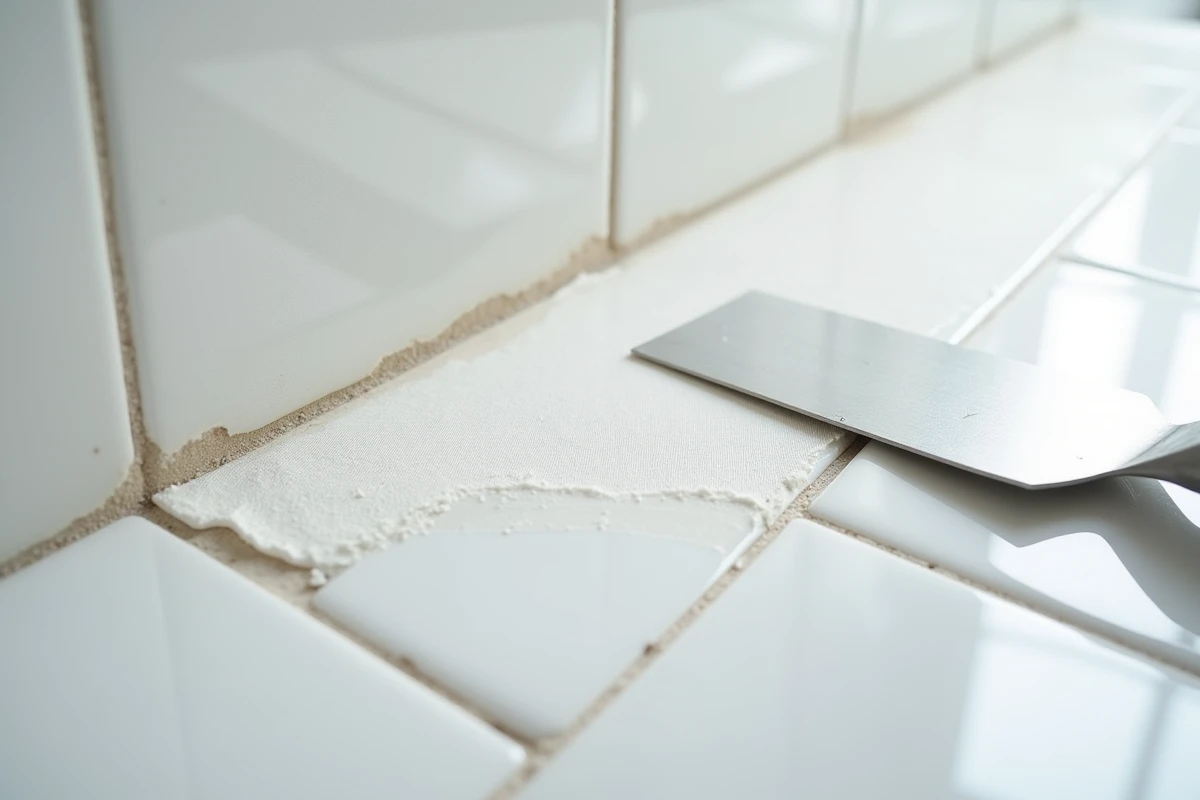
The solution is to apply a leveling or filling compound over the entire tiled surface. This involves a thin layer application that fills the depressions of the joints and evens out the surface. A multi-purpose smoothing compound is suitable for this operation.
Several feedbacks from professionals confirm that this step, often overlooked by rushed DIYers, makes the difference between a clean finish and a disappointing result. After the compound has dried, a light sanding with fine-grit sandpaper removes small imperfections. The wall is then dusted before proceeding to the gluing.
Gluing and cutting fiberglass wallpaper on tiled walls
The installation itself follows the same principle as on a standard wall, with one particularity: the adhesive must be applied exclusively to the wall, never to the wallpaper. Adhesives for fiberglass wallpaper are acrylic-based, ready-to-use or powder to be diluted.
Here are the concrete steps for gluing:
- Cut the strips of fiberglass wallpaper to the correct height, allowing a few centimeters of margin at the top and bottom for final adjustments
- Glue the wall with a roller over a width slightly greater than that of the strip, in a regular and generous layer
- Apply the first strip starting from a corner of the room, then smooth from the center to the edges with a wide spatula to eliminate air bubbles
- Place the subsequent strips edge to edge, without overlapping, carefully aligning the pattern if the wallpaper has a decorative mesh (chevrons, diamonds)
- Cut excess material with a cutter along the baseboards and ceiling while the adhesive is still fresh
A point often underestimated: the room temperature. Air that is too cold or too humid slows down drying and weakens adhesion. Working in a ventilated room, between 15 and 25 degrees, yields the best results.
Choosing the weight of the wallpaper
Not all fiberglass wallpapers are suitable for this type of project. On leveled tiles, a wallpaper with a sufficiently dense weight better masks residual micro-defects. The thinnest models, intended for new ceilings, risk allowing the texture of the substrate to show through.
For a bathroom or kitchen wall, opt for a tightly woven wallpaper. It offers better mechanical resistance and withstands successive layers of paint over the years.
Fiberglass wallpaper in wet areas: the restriction zone to know
This constraint is rarely mentioned in consumer tutorials. The technical guides from the Quality Construction Agency and manufacturers of waterproofing systems remind a specific point: fiberglass wallpaper on tiles is only acceptable outside of water projection areas.
In concrete terms, this means that the wall located directly behind the shower or bathtub (areas subject to splashes and runoff) should not receive fiberglass wallpaper glued on tiles. The risk? Water seeps between the wallpaper and the tiles, causing gradual detachment and promoting the development of invisible mold behind the covering.
For these areas, other renovation solutions exist: waterproof laminated panels, special tile paint, or retiling over the old tiles. Fiberglass wallpaper remains an excellent choice for recessed walls, away from direct projection, such as the wall facing the shower or the side walls distant from the water point.
Finishing paint on fiberglass wallpaper: the final step of the project
Once the wallpaper is dry (usually a full day), the finishing paint can be applied. Two coats of acrylic paint are sufficient for a uniform finish. In wet areas, a special bathroom paint, formulated to resist condensation, extends the lifespan of the covering.
A short-pile roller provides the smoothest finish. Apply the first coat in one direction, the second perpendicularly, to cover the entire surface without streaks. Corners and joints at the ceiling are worked with a brush before using the roller.
Transforming an aging tiled wall into a clean and modern painted surface generally takes a full weekend, including drying times. The most expensive material remains the adhesion primer, but the savings compared to a tile removal more than compensates for this investment.